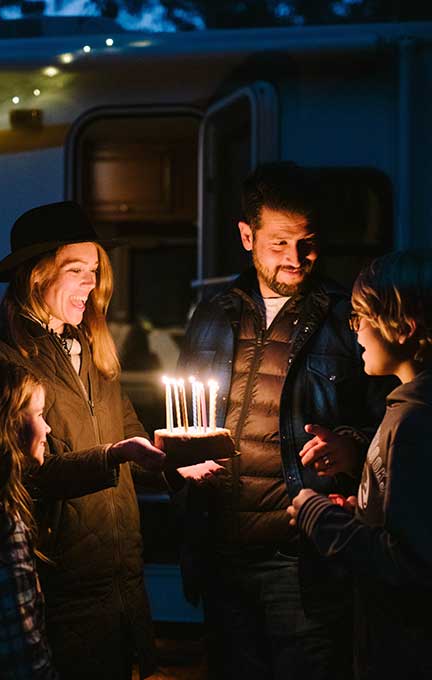
Nobody was born knowing how to dump a black tank. That skill gets acquired, and the acquiring is less glamorous than the Instagram posts suggest.
But here’s what’s also true: operating an RV is not complicated. It just requires someone to walk you through it once, in plain language, without assuming you already know what a grey tank is. That’s what this is.
Read it before your trip. Skim it at the campground. Refer back to it when something makes a noise you don’t recognize.
Before You Leave the Owner’s Driveway
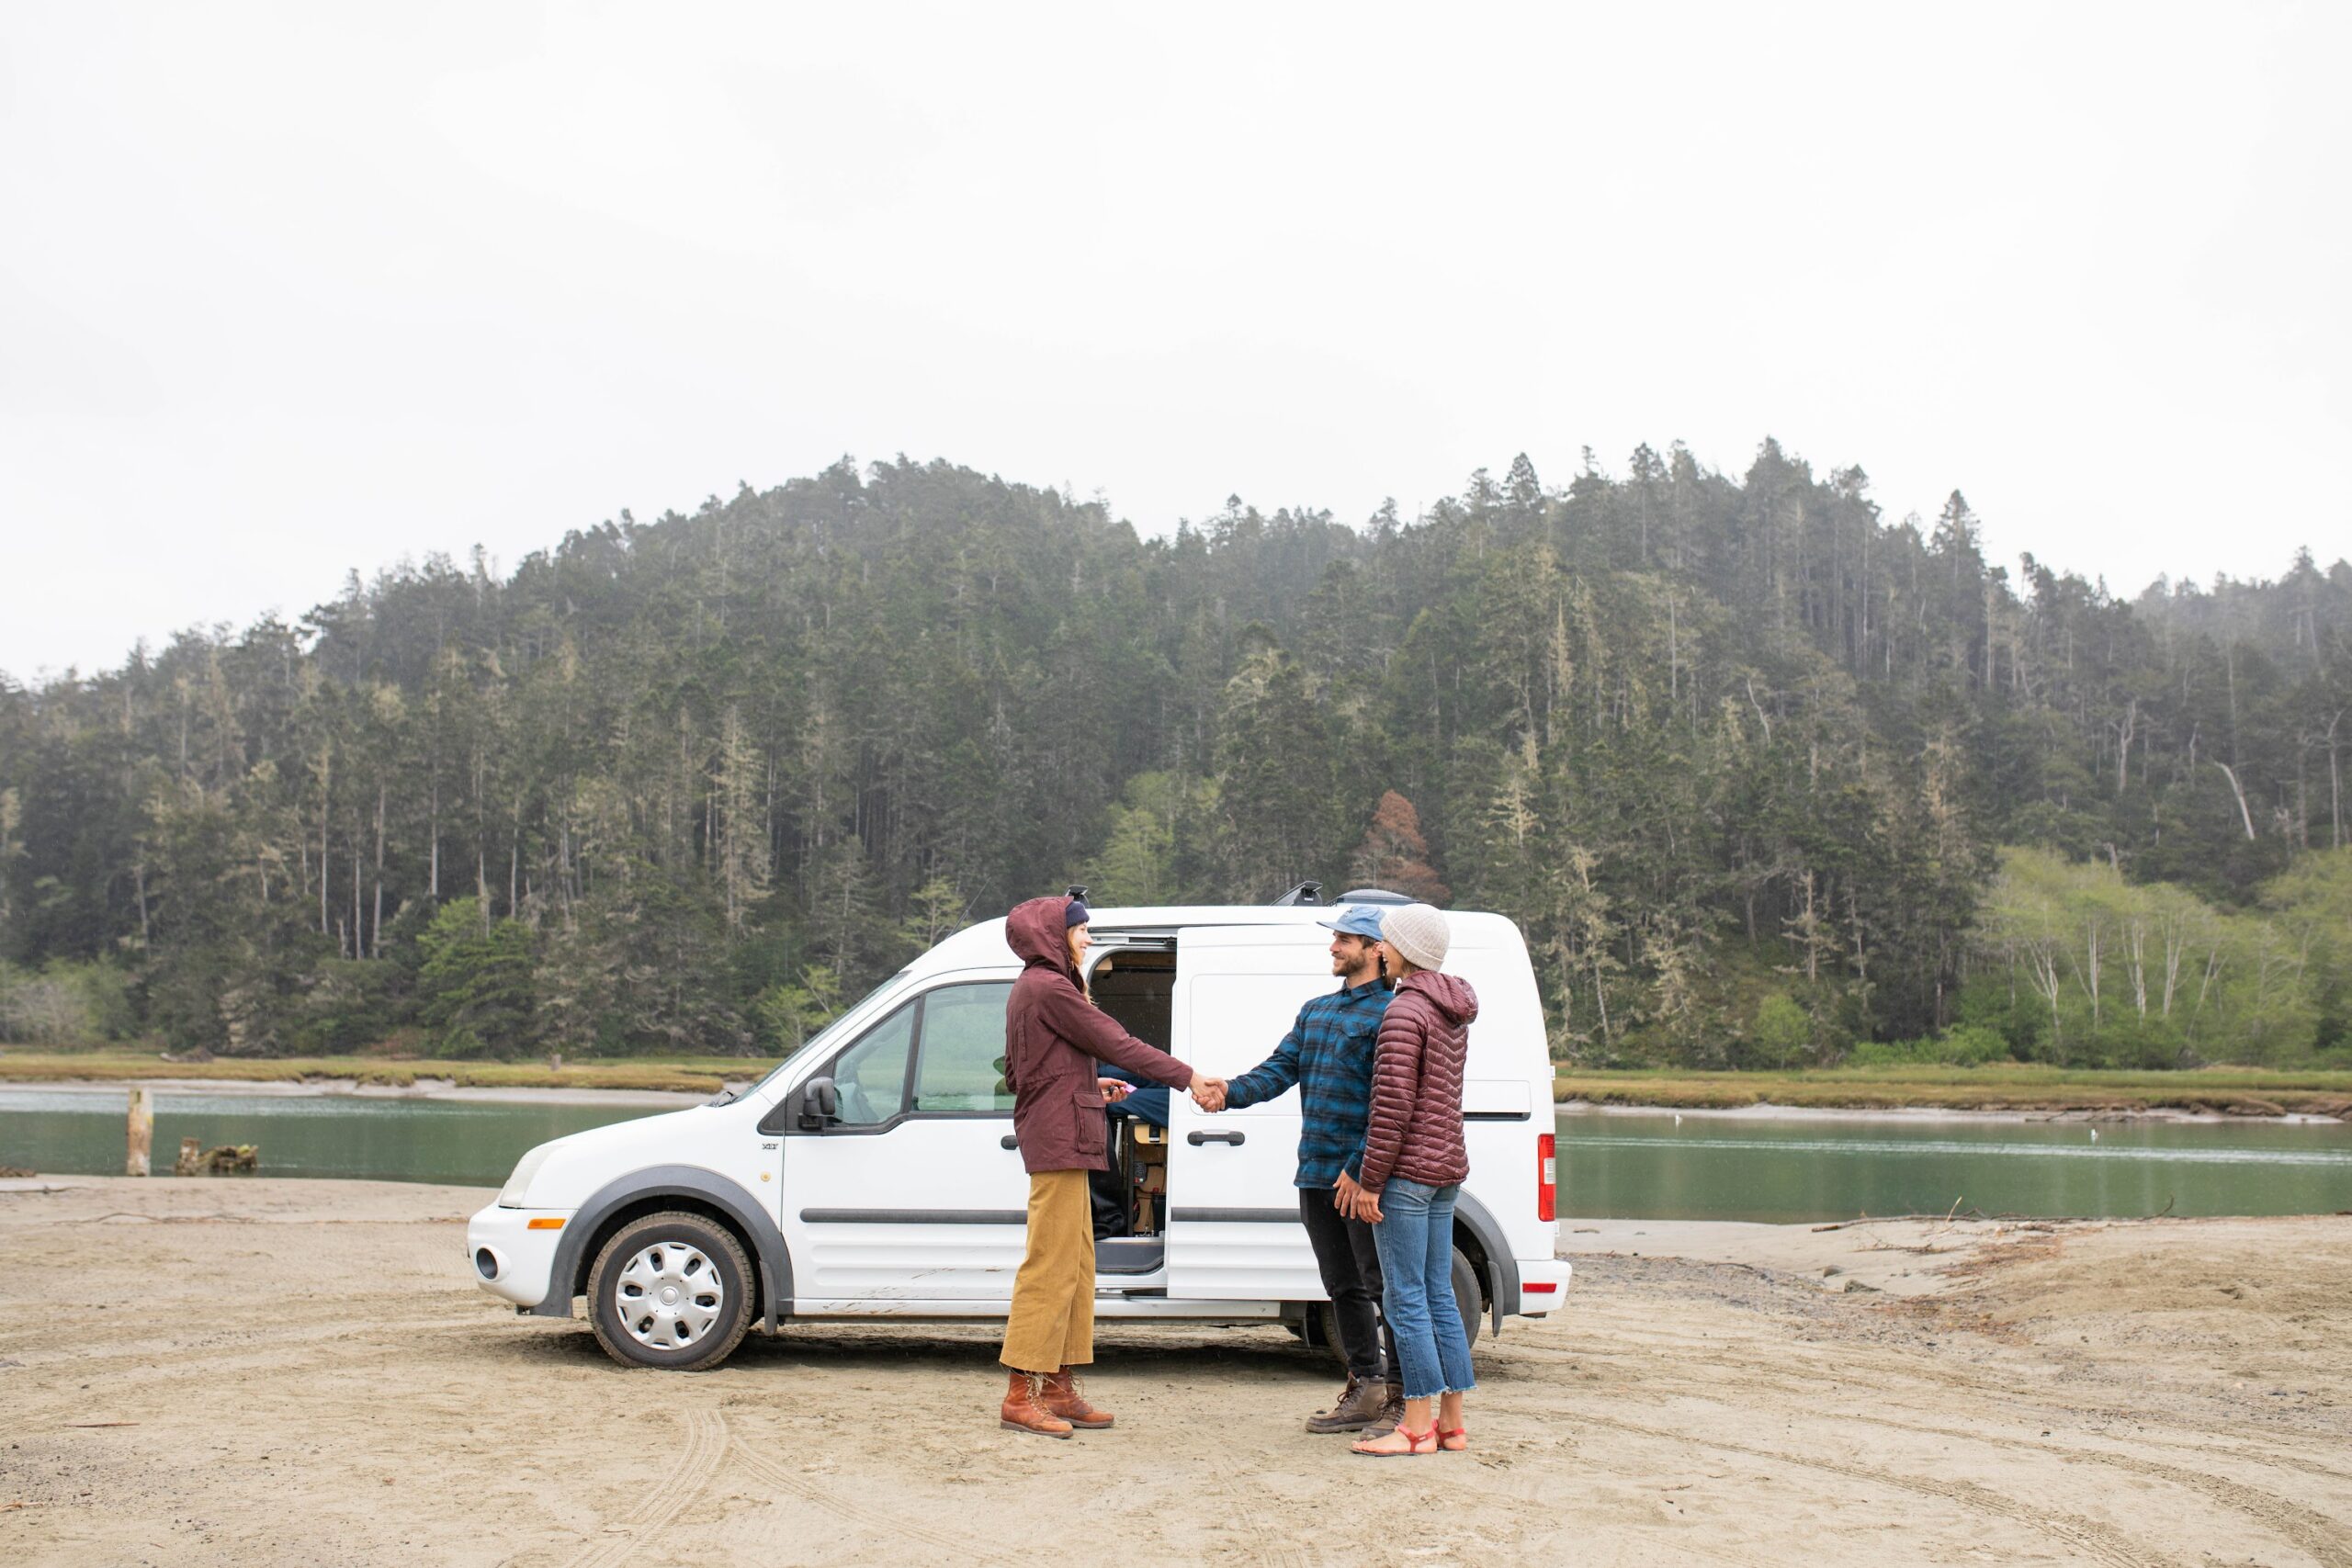
Your owner walkthrough is the most important part of your rental. More important than this guide. More important than any YouTube video.
The owner knows their specific rig — where the quirks are, which burner runs a little hot, whether the slideout sticks in the morning. Ask them to walk you through everything, and take notes on your phone or a notepad. Don’t rely on memory.
At minimum, make sure you’ve walked through:
- Electrical system (shore power, generator, batteries)
- Water system (city water hookup, onboard tank, pump)
- Propane (tanks, valves, appliances)
- Tanks (grey water, black water — how to monitor and dump)
- Slideouts and awning (how to deploy and retract safely)
- Heating and cooling (furnace, AC, ventilation fans)
- Driving-specific items (mirrors, height clearance, any known handling quirks)
Don’t leave without seeing each of these in person. A five-minute walkthrough saves a two-hour troubleshooting session at a campground 200 miles away.
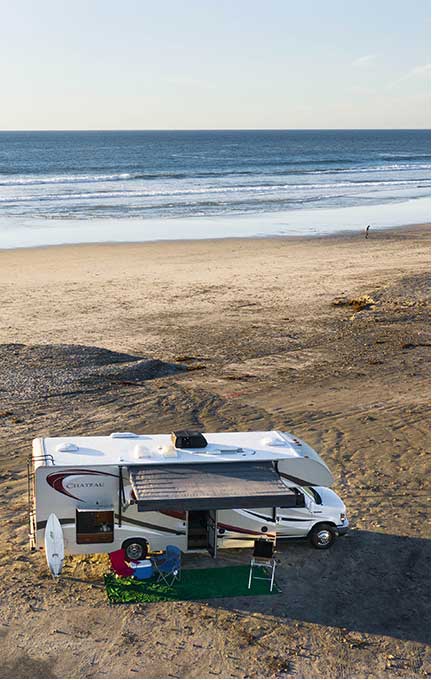
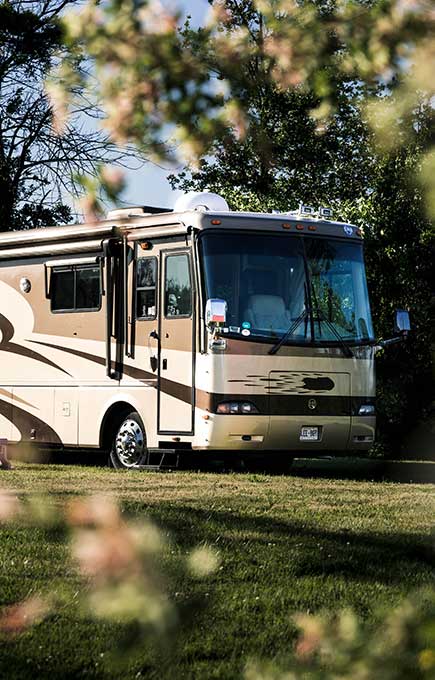
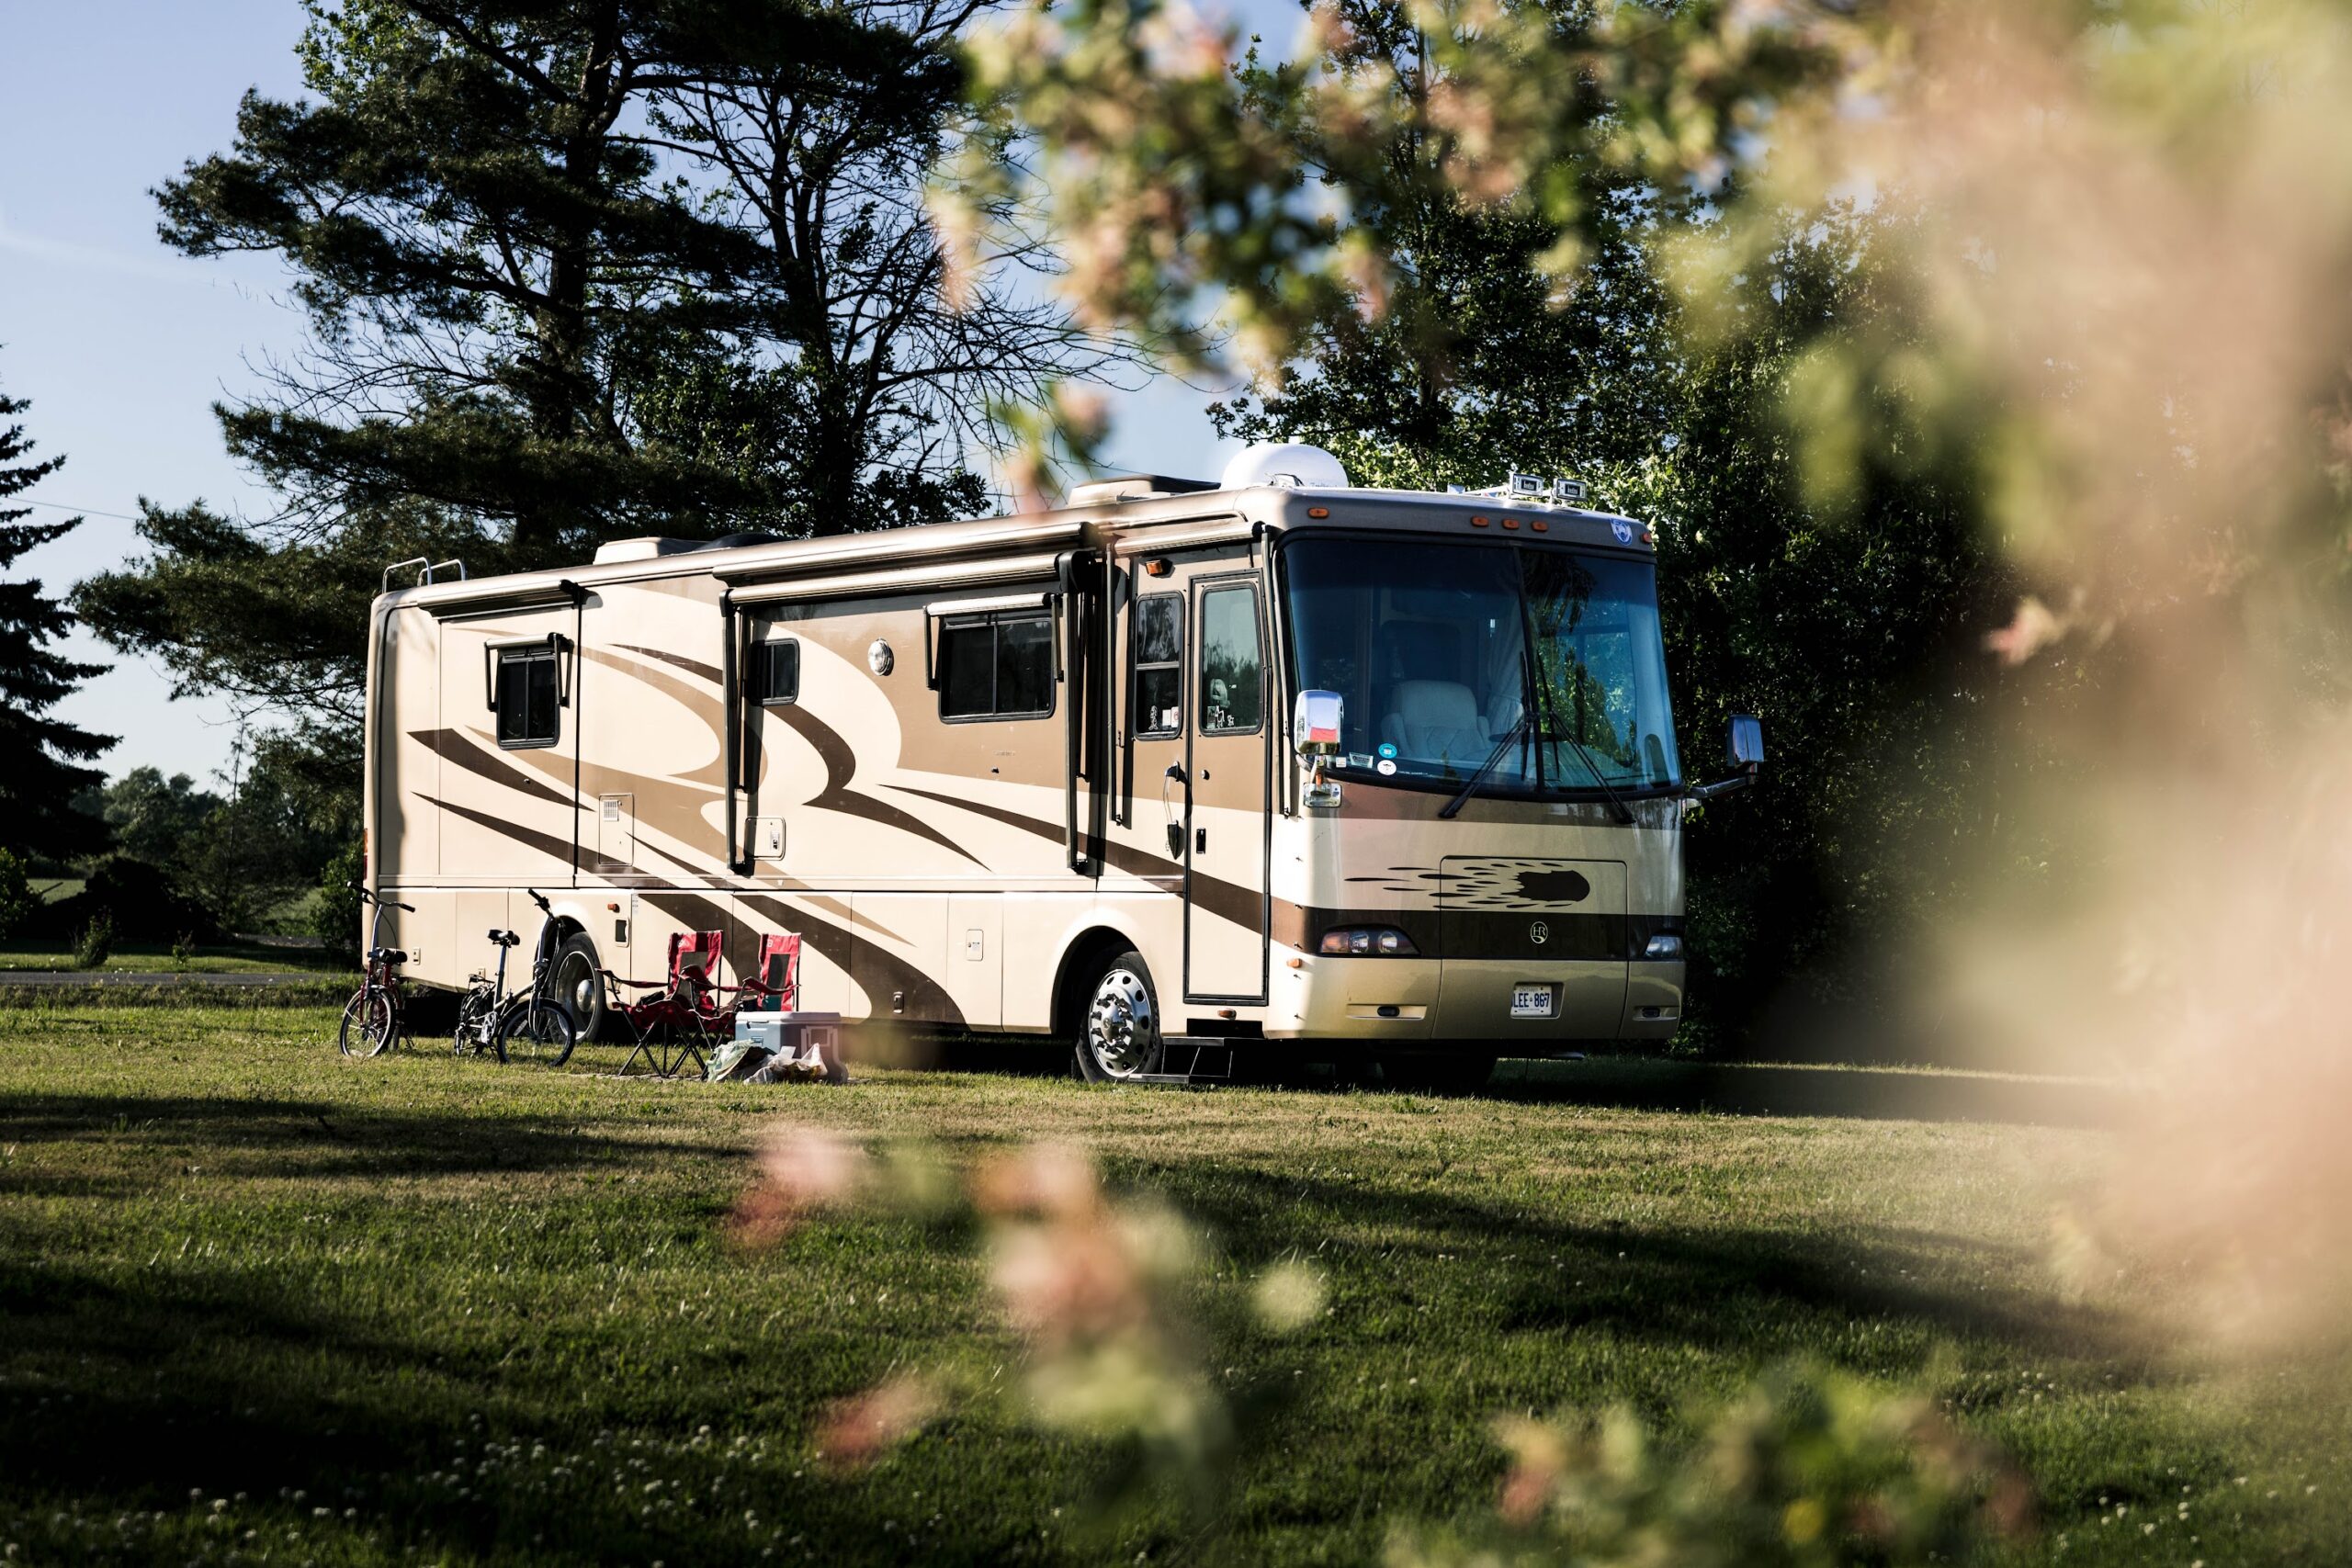
Part 1: Arriving at Your Campsite
You’ve driven the rig. You found the site. Now you need to set up camp. Here’s the order of operations.
Step 1: Position the RV
Pull into or back into your site — whichever is required — and get the vehicle roughly where you want it before you do anything else. You can fine-tune later, but getting close now saves a lot of reconnecting.
If your site has a sewer hookup, make sure you’re close enough to reach it with your sewer hose. The hose has a finite length. This matters more than it sounds.
Step 2: Level the RV
This step gets skipped. Don’t skip it.
An unlevel RV is uncomfortable to sleep in, throws off your propane appliances, and in some cases can cause refrigerator damage — the gas absorption fridges in many RVs require level ground to function properly.
Most campgrounds have reasonably level sites, but not perfectly level. Use a small bubble level or the one in your phone to check front-to-back and side-to-side.
If you have leveling blocks: Drive slowly onto them until you’re level. Cut the engine and check again.
If you have an automatic leveling system: There will be a button. Push it. The jacks do the work. Don’t skip the manual verification — automatic systems can be fooled on uneven terrain.
Once level, chock the wheels front and back. If you have a tow vehicle, unhitch it now.
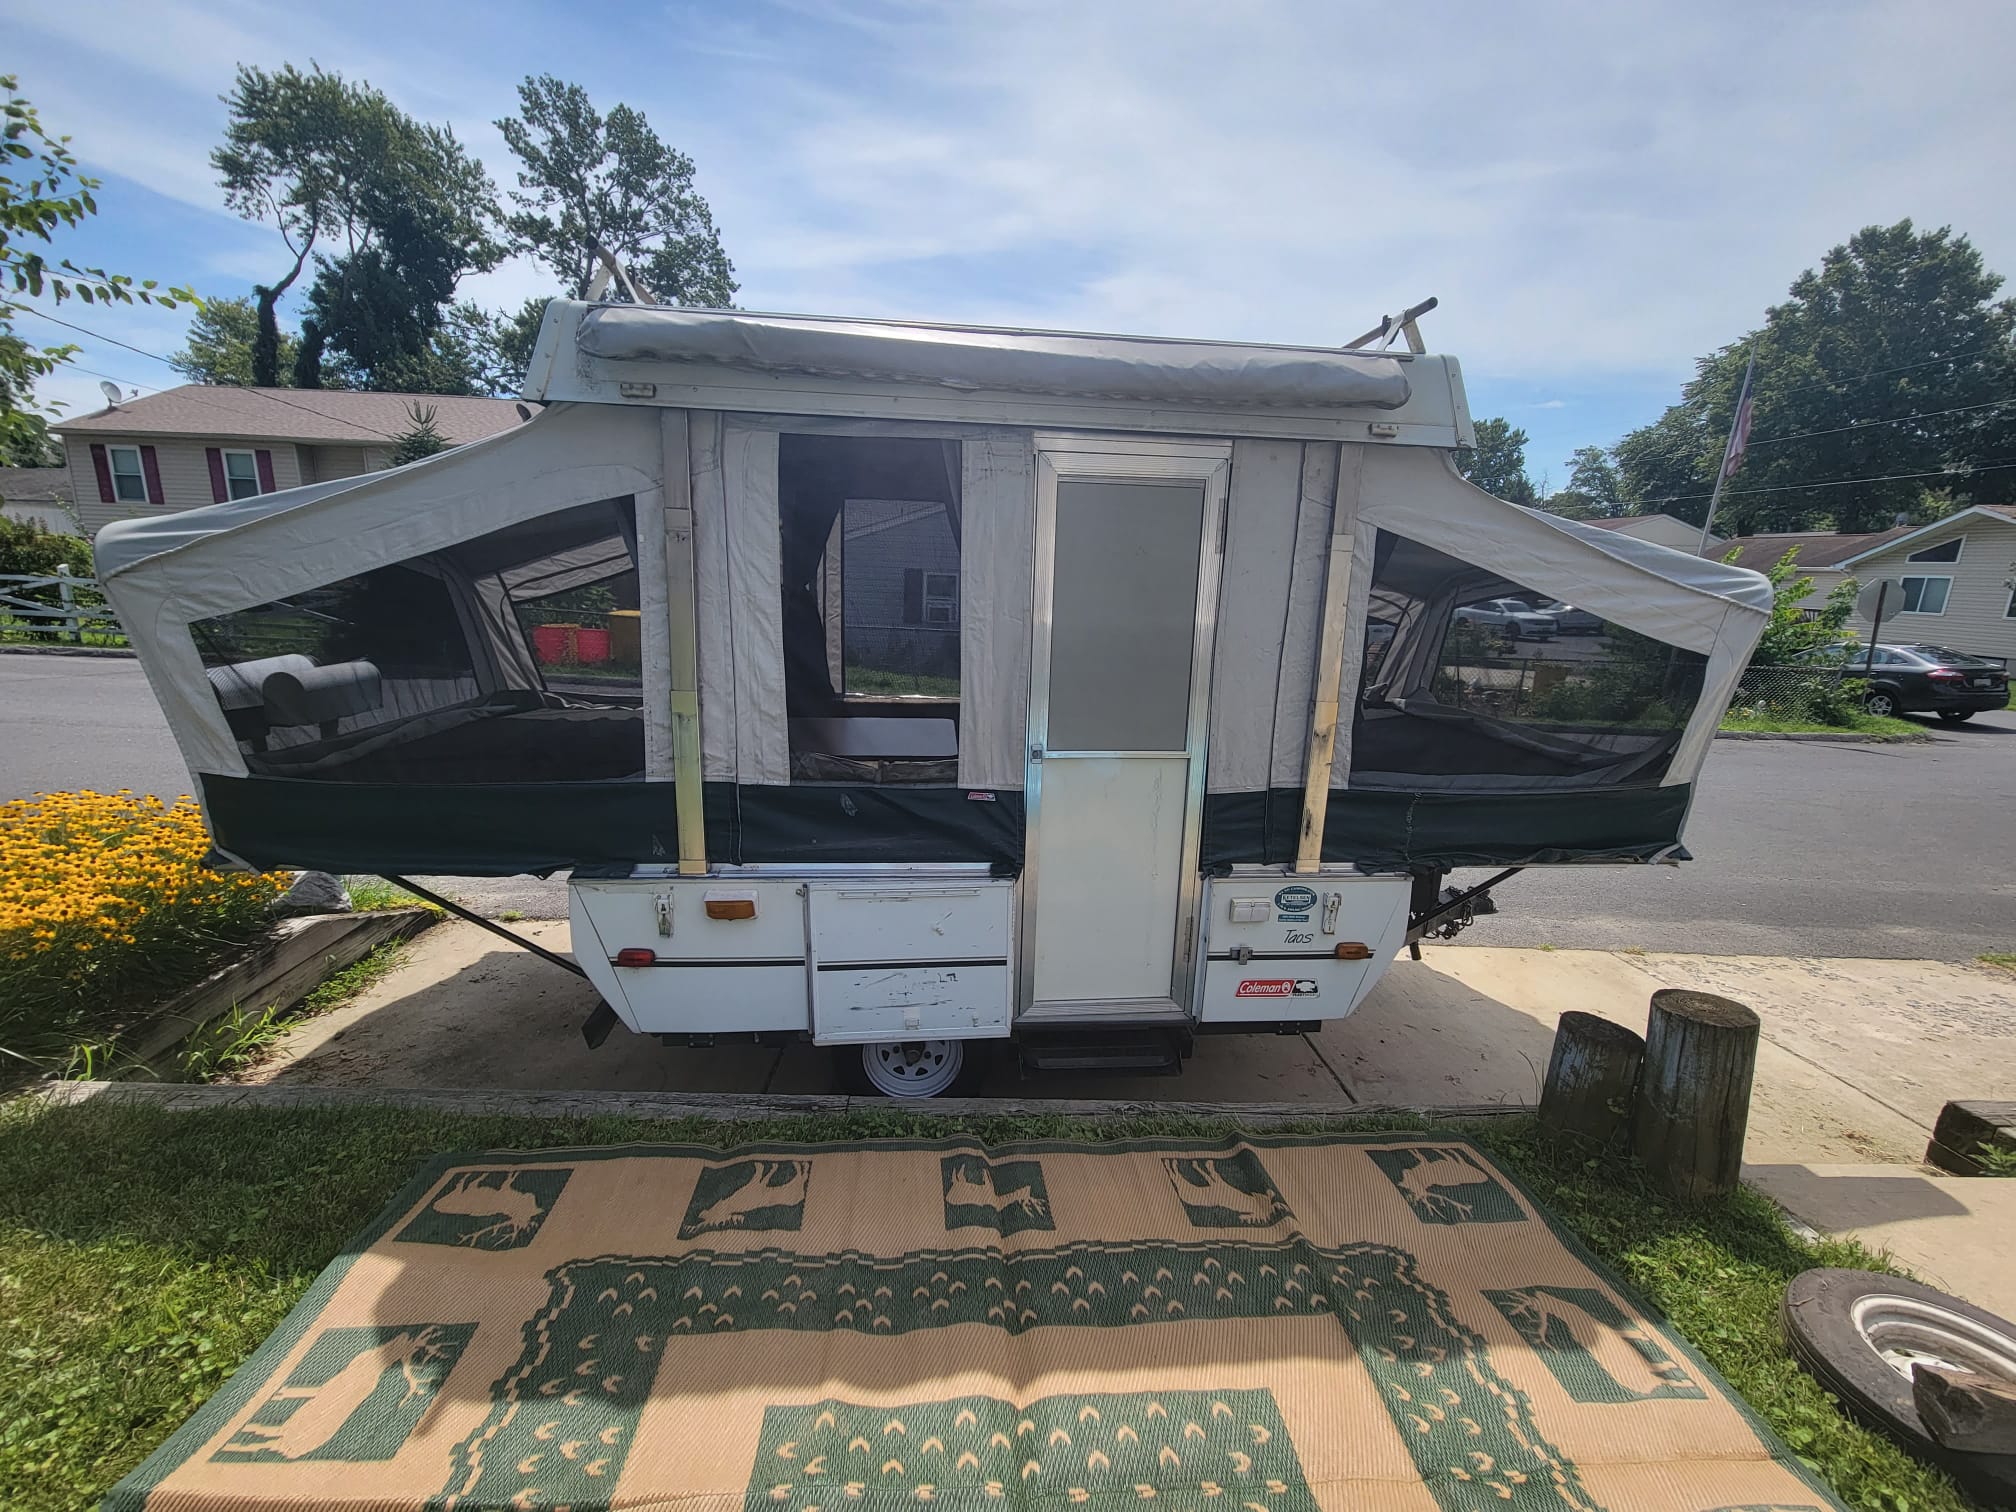
Step 3: Deploy Slideouts (If Applicable)
Slideouts extend the interior living space. They’re a significant convenience and a significant responsibility.
Before extending:
- Make sure you’re fully parked and level
- Check the exterior clearance — trees, posts, neighboring rigs, low-hanging wires
- Make sure nobody is standing in the slideout’s path
Use the interior control panel to extend. Go slowly and watch out windows or have someone outside watching. When fully extended, you’ll feel it stop and the motor will cut.
Every single time before you drive: retract all slideouts completely. Every. Single. Time. Driving with a slideout even partially extended causes damage that is expensive, preventable, and entirely your fault.
Step 4: Put Out the Stabilizer Jacks
These are not the same as leveling jacks. Stabilizers reduce the bounce and sway when people move around inside the rig. They don’t lift the vehicle — they just firm up the stance.
Extend them until they make solid contact with the ground. A quarter turn snug after contact is enough. Don’t over-crank them; you’re stabilizing, not lifting.
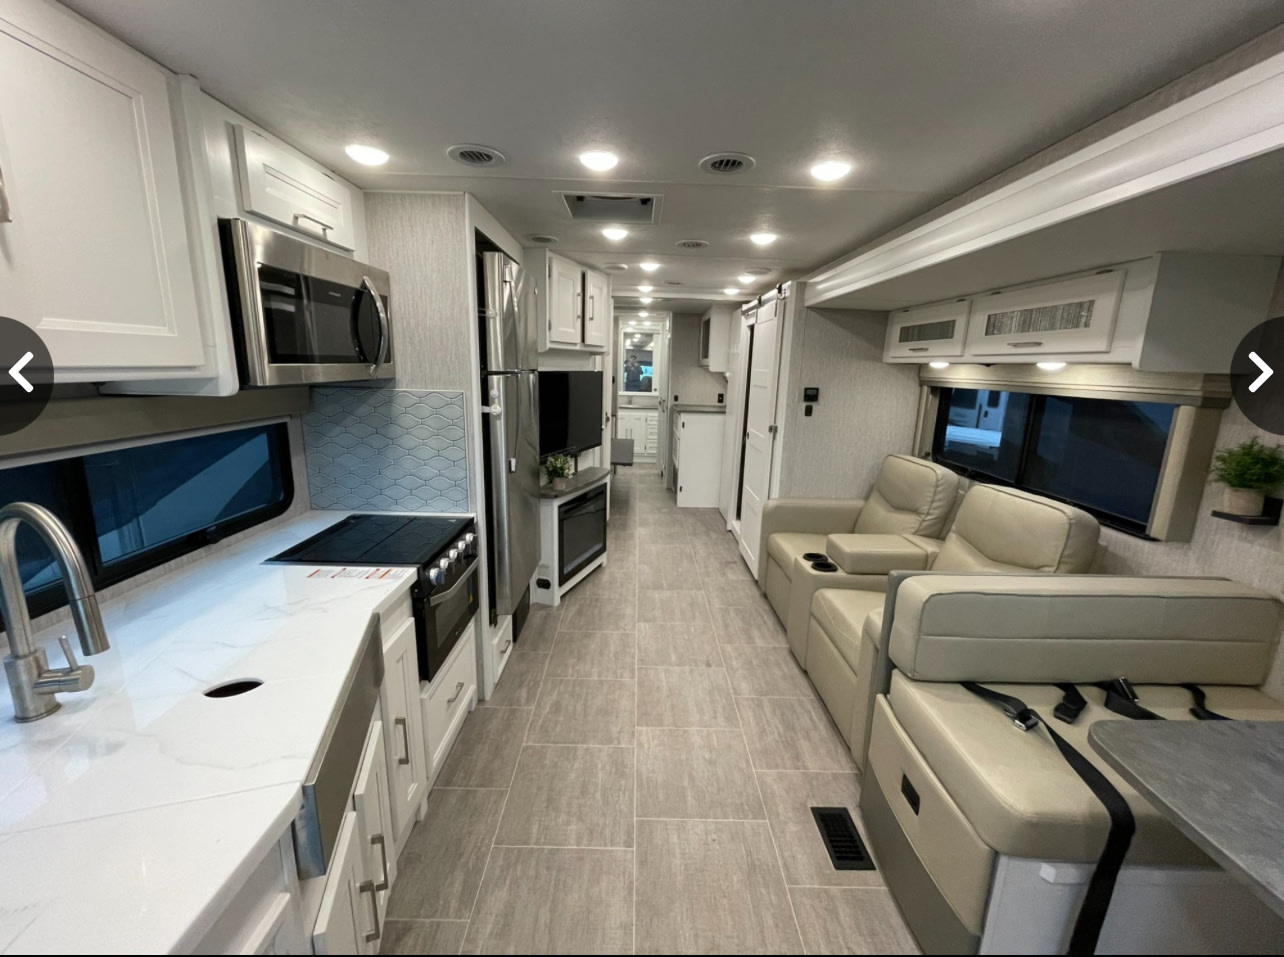
Part 2: Connecting to Shore Power (Electrical Hookup)
Most campgrounds offer either 30-amp or 50-amp electrical service. The pedestals look like outdoor outlets — because that’s essentially what they are.
Know your RV before you arrive. The power cord and plug type tells you what you need. A 30-amp cord has a three-prong plug. A 50-amp cord has a four-prong plug. They’re not interchangeable without an adapter.
If you have a 50-amp RV and a 30-amp site (or vice versa), adapters are available at most hardware stores and many camping supply spots. Your owner may have one in the rig — ask during the walkthrough.
How to connect:
- Make sure the campground power pedestal is switched off before you plug in
- Plug your RV power cord into the pedestal
- Flip the pedestal switch on
- Check your RV’s main power panel — breakers should be seated and no warning lights should be on
That’s it. Your rig is now drawing power from the grid. Air conditioning, interior outlets, and the refrigerator (in electric mode) all work from shore power.
Important: Don’t run high-draw appliances (AC, microwave, hair dryer) simultaneously on a 30-amp connection. You’ll trip the breaker. 30-amp connections have limits. Manage what’s running.
Part 3: Connecting to Water (City Water Hookup)
The white hose at your campsite hookup pedestal supplies pressurized city water directly into the RV — no pump required, no tank to fill. This is the easiest way to run water when you have a hookup available.
What you need: A potable water hose (white, not green). If your owner didn’t include one, they’re available at any camping supply store for $15–$25. This is not optional equipment.
How to connect:
- Attach a water pressure regulator to the campground spigot (your owner may have one; if not, they’re inexpensive and protect your RV’s plumbing from high-pressure municipal lines)
- Connect your white hose to the regulator, then to the RV’s “city water” inlet — typically on the exterior of the rig, labeled clearly
- Turn on the campground spigot
Water will now flow through the RV on demand whenever you open a faucet. The onboard water pump is not needed and should be switched off when using city water hookup.
If there’s no water hookup (boondocking or dry camping): You’ll use your onboard fresh water tank and the water pump. Fill the tank from a potable water source before you leave. Turn on the water pump switch (usually inside near the control panel). The pump pressurizes the system when you open a faucet. You’ll hear it kick on — that’s normal.
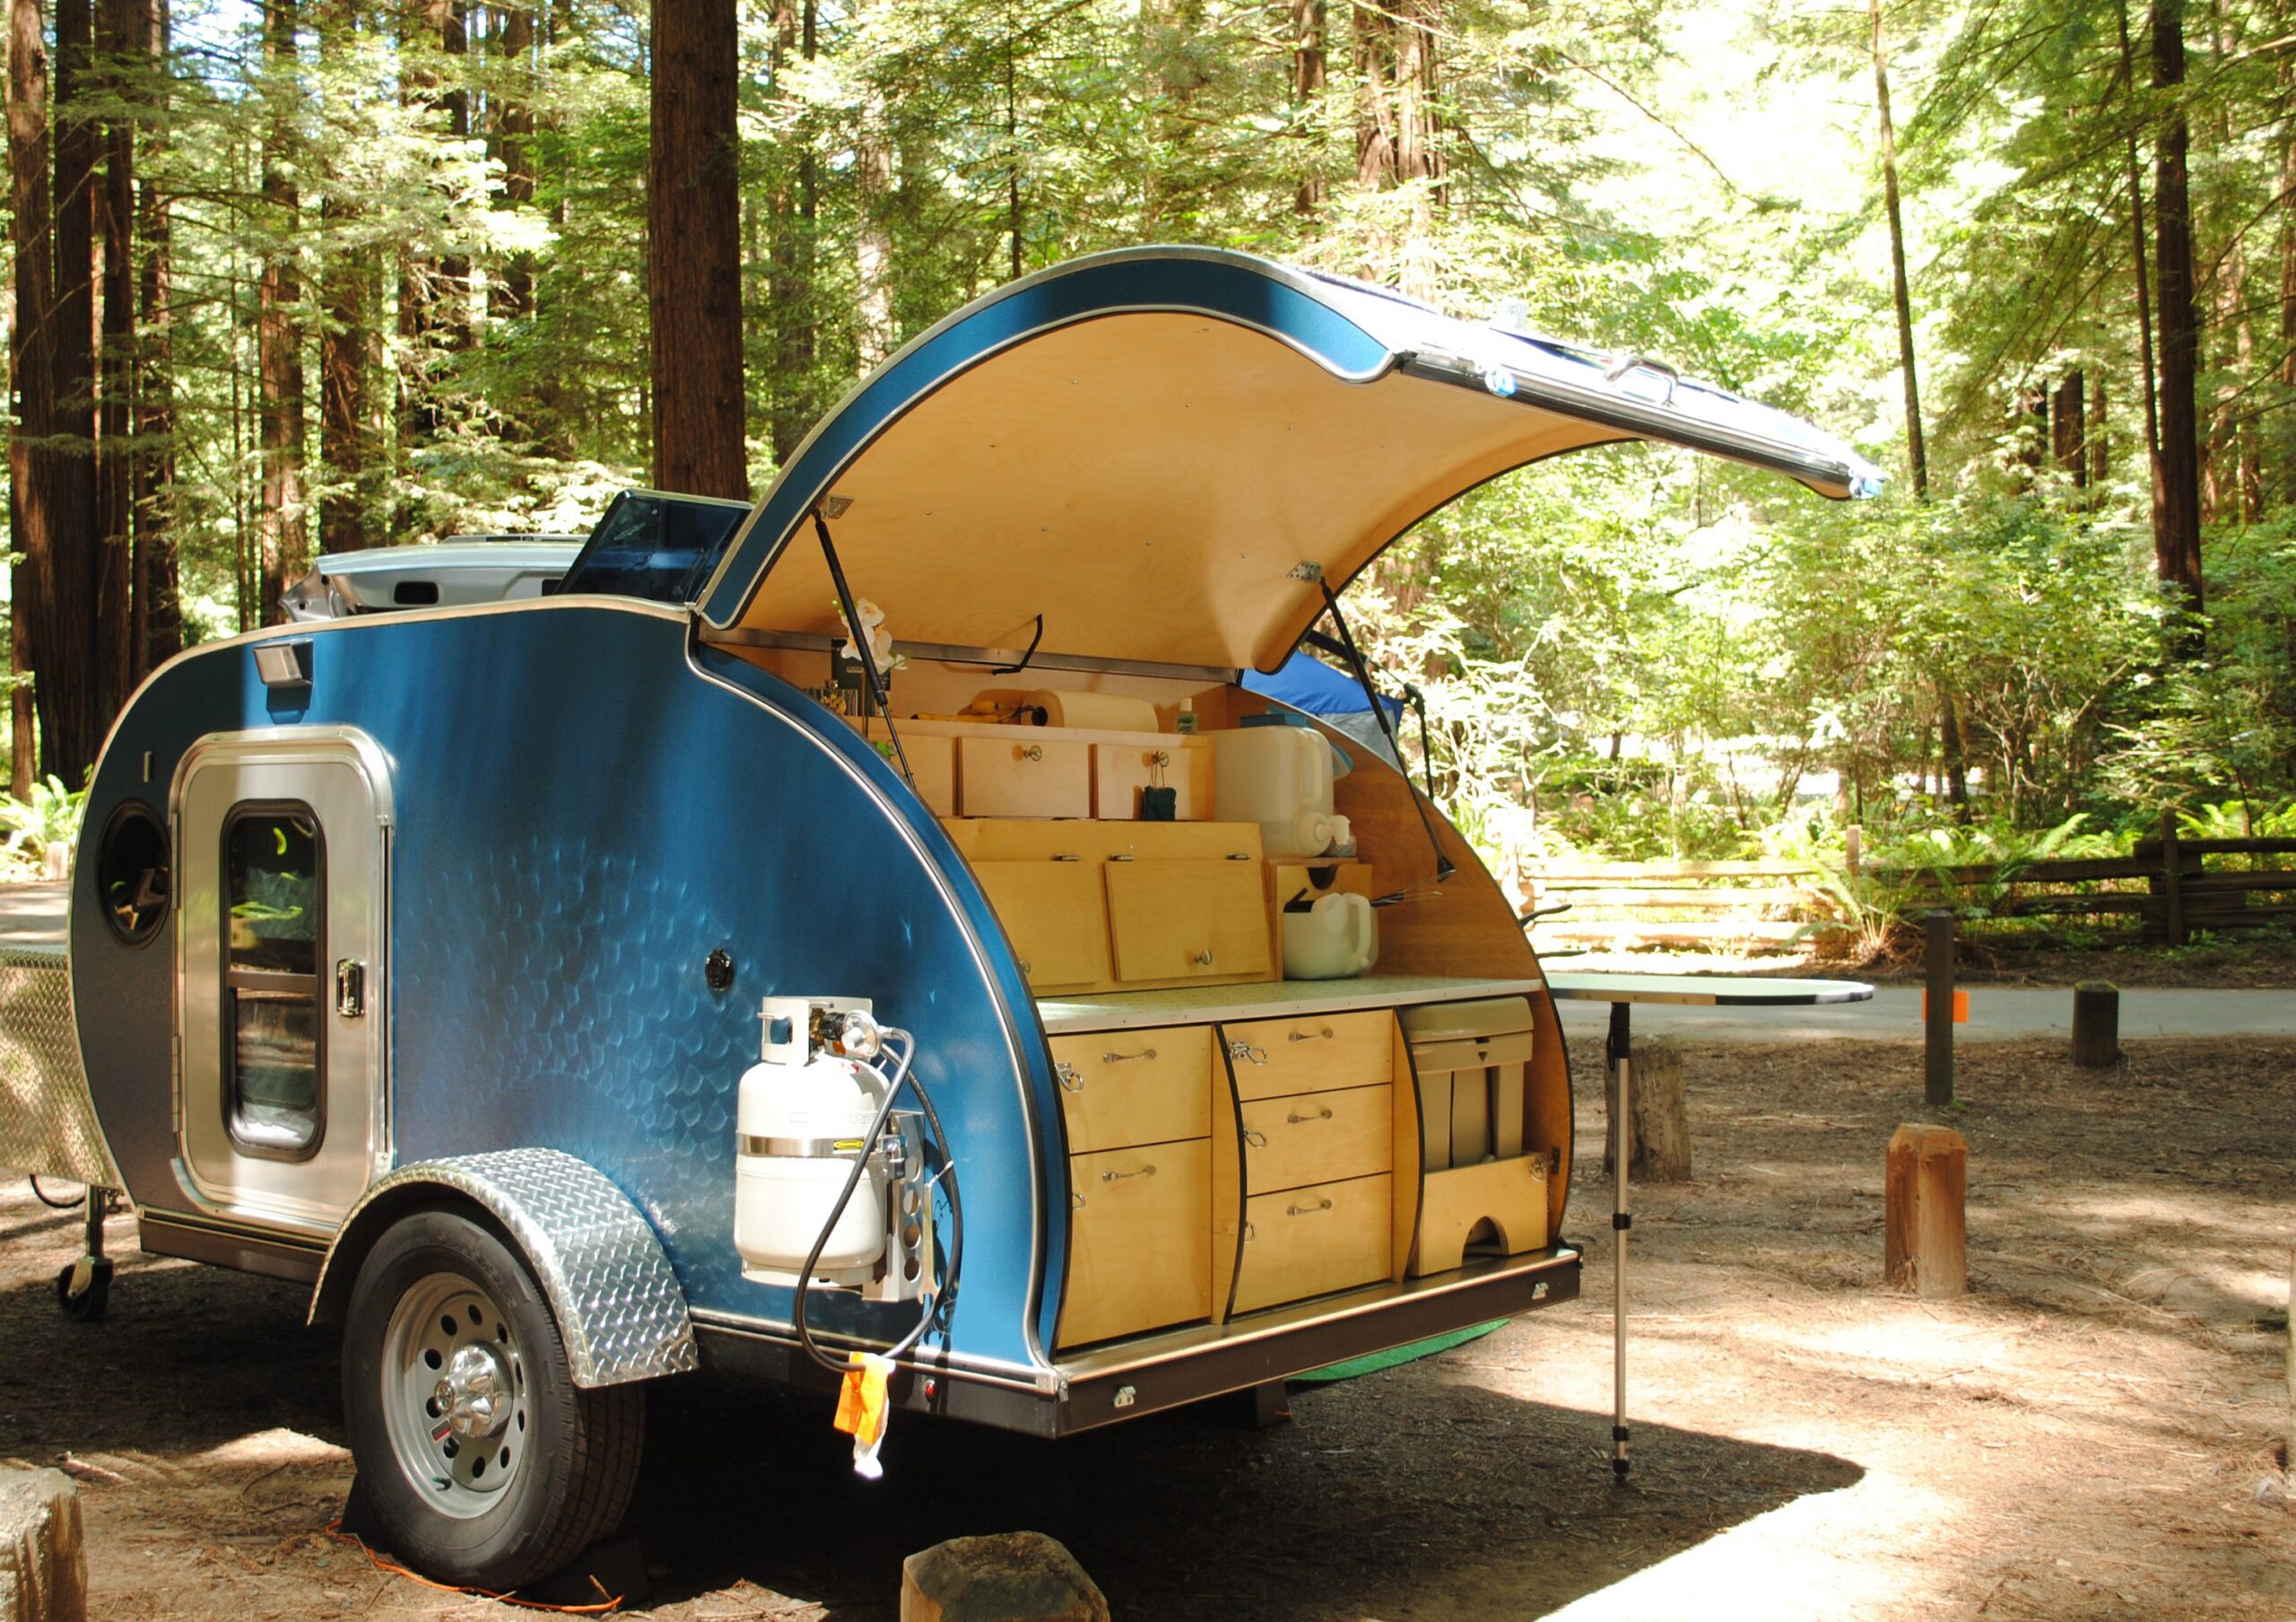
Part 4: Using Propane
Propane powers your stove, oven, water heater, and furnace in most RVs. It’s stored in tanks on the exterior of the rig — usually at the front for motorhomes, at the tongue for trailers.
Before arrival: Your owner should confirm the tanks are full or tell you where to refill if needed. Propane is widely available.
The main valve: There’s a master shutoff valve at the tank. It should be open while you’re parked and using propane appliances. Turn it off when driving — this is both good practice and required when going through tunnels.
Appliance pilots: Older RVs have pilot lights on the furnace and water heater that need to be lit manually. Newer rigs have electronic ignition. Your owner will know which you have and how to operate it.
Signs of a propane issue:
- You smell rotten eggs (the odorant added to propane for safety)
- An appliance won’t ignite after several attempts
- The flame on your stove is orange instead of blue
If you smell propane: turn off the tank valve, open windows and doors, and exit the RV. Don’t flip any switches. Air it out and contact your owner before attempting to diagnose anything yourself.
Part 5: The Water Heater
Before you expect hot water, you need to turn on the water heater and give it time to heat. This is the most commonly forgotten step on day one.
Most RV water heaters run on propane, electric, or both. There’s typically a switch on the interior control panel. Flip it on and give it 15–30 minutes. The tank is small (6–10 gallons typically), so hot water doesn’t last as long as it does at home.
To conserve hot water: get wet, turn the shower off, soap up, rinse. In the RV world, it’s called a “navy shower.” You’ll adapt quickly.
Part 6: Understanding the Tanks
This is the section that makes people nervous. It shouldn’t. The tank system is straightforward once you know what’s what.
Fresh Water Tank: Holds your drinking and utility water for off-grid use. Fill it before leaving if you’re boondocking.
Grey Water Tank: Collects wastewater from the kitchen sink, bathroom sink, and shower. Not gross. Just water with soap in it.
Black Water Tank: Holds toilet waste. The tank that earns its nickname. It’s sealed, it’s manageable, and every RVer deals with it.
Monitoring Tank Levels
Your RV has a monitor panel — usually inside near the kitchen or bathroom — that shows tank levels (Full, 2/3, 1/3, Empty). Check it daily. Don’t let your black tank get to full before dumping. Grey tank too.
A good rule of thumb on a longer trip: dump every 3–4 days, or when either tank hits about two-thirds full.
Dumping the Tanks
This is the moment people dread until they do it once, at which point it becomes completely unremarkable.
What you need: Your sewer hose (should be included with the rental), rubber gloves.
At a campsite with sewer hookup:
- Connect the sewer hose from your RV’s dump outlet to the sewer connection at your site. Make sure it’s fully seated and the locking ring is secure.
- Keep the black tank valve closed until you’re ready to dump. Leaving it open with a hose connected allows liquids to drain continuously, leaving solids behind — a problem with a very specific name you don’t want to learn firsthand.
- Open the black tank valve first. Let it drain completely. Close it.
- Open the grey tank valve. The soapy grey water flushes the hose. Let it drain. Close it.
- Disconnect the sewer hose from the site connection first, then from the RV.
- Rinse the hose if a rinse connection is available (many campgrounds have them). Store the hose separately from everything else.
At a dump station (if your site doesn’t have a sewer hookup): Same process, just at a dedicated dump station. Most campgrounds have them. Apps like iOverlander and Campendium mark dump station locations.
After dumping, add a few gallons of water to the black tank and a black tank treatment tablet or solution. This breaks down waste and controls odors. Your owner should have some on board — ask.
Part 7: The Awning
The awning gives you shade and keeps rain off your entry. It’s also one of the most commonly damaged items on a rental because people leave it out when they shouldn’t.
Extending: Use the control panel button or the manual crank, depending on your rig. Extend fully and use the awning tie-down straps to secure it in a slight downward angle so rain runs off.
The rules:
- Never leave the awning out unattended for extended periods
- Never leave it out overnight
- Never leave it out if there’s wind, incoming weather, or any uncertainty about the forecast
Wind is the enemy of awnings. A moderate gust can destroy one in seconds. The repair bill is several hundred dollars. The solution is a 30-second retraction before you leave camp or go to sleep.
When in doubt: put it away.
Part 8: Heating and Cooling
Air Conditioning: Runs on shore power or the generator. Do not run AC on battery alone — you’ll drain the batteries in under an hour. When connected to shore power, run it as you would at home.
The Furnace: Runs on propane (with a small electrical draw for the fan and ignition). Most RV furnaces are thermostat-controlled. Set it and let it work. Note that the furnace uses the battery for the blower — if you’re off-grid, overnight furnace use drains batteries faster than you’d expect.
Ventilation Fans: Most RVs have a roof vent fan in the bathroom and often in the main living area. These are surprisingly effective for moderate temperatures and use very little power. On a mild night, a vent fan beats running the generator for AC.
Breaking Camp: The Departure Checklist
This is where things get damaged. Departure is when people are in a hurry, distracted, or caffeinated past the point of careful thinking. Slow down.
Before you start the engine:
All slideouts fully retracted
Stabilizer jacks raised
Leveling jacks retracted (if auto-leveling)
Awning fully retracted and secured
Shore power cord disconnected and stowed
Water hose disconnected and stowed
Sewer hose disconnected, rinsed, and stowed
All exterior compartment doors closed and latched
Wheel chocks removed and stored
Interior: all cabinets closed and latched, nothing loose on counters
Walk the exterior once before you move. Take 90 seconds. Look at every corner of the rig. You’re looking for anything still connected, deployed, or in the way.
This is the checklist that prevents the stories that start with “so we were leaving the campground and…”
The Real Learning Curve
Here’s the honest version: the first time you set up camp will take about an hour. By day three, you’ll do the same setup in fifteen minutes. By the end of the trip, most of it will be automatic.
RV operation is a skill that front-loads its difficulty. Everything feels new and slightly uncertain on day one. By day two, you’ve done it. By day three, you’re showing the people in the next site how to connect their water hose.
That’s not an exaggeration. That’s just how it works.
Heading out soon? Browse RV rentals on Outdoorsy and find the right rig for your trip.